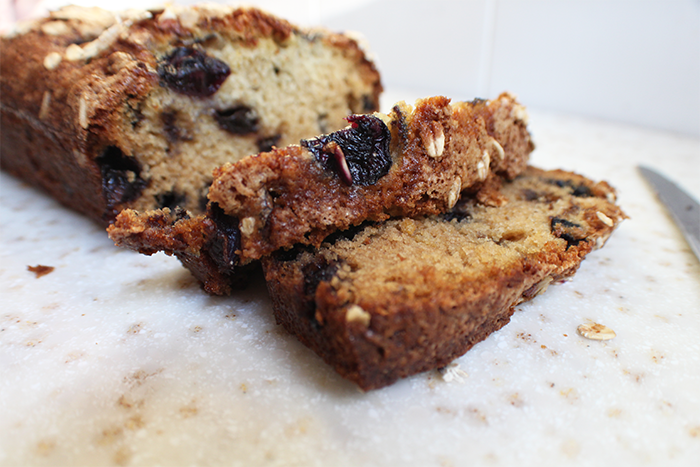
It’s been a busy and rough week or so. Shortly after finishing using up all those blueberries, I broke a tooth. Well, not really. Kind of. A filling in my wisdom tooth fell out, taking some tooth with it, leaving me with not much to speak of. After seeing my dentist, we agreed that it […]
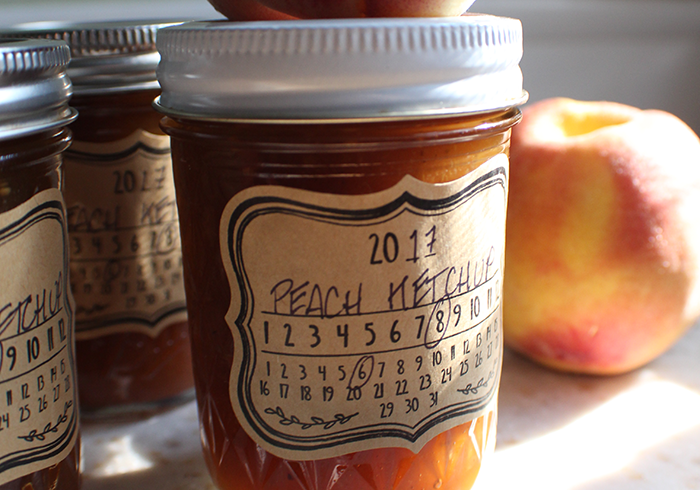
brown sugar | canbassador | canning | cloves | condiments | fruit | no-bake | non-dairy | onion | peaches | preserved foods | recipe | sauce | savory | seasonal | toppings | traditional with a twist | unique
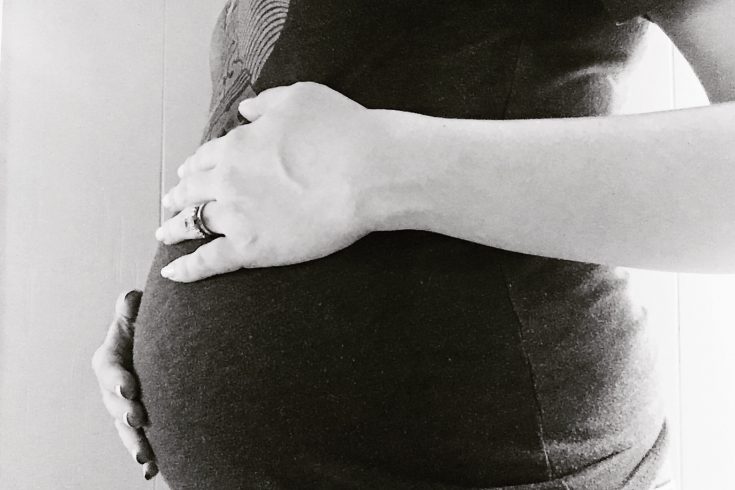


 I'm Marilla. A 30-something artist, hobby baker, home canning enthusiast, gardener, DIY-er, wife, mommy of a baby boy and dog mom (to another baby boy) from New York.