Holy freakin’ moly has time flew by. I’m not lying when I say that this entire pregnancy went by SO FAST. My last update was 6 weeks ago… insane. I feel like I didn’t even have time to breathe let alone do anything before the 9 months is up. Or maybe that’s just the shortness […]
apple | cinnamon | cupcakes | desserts | filling | frosting | fruit | halloween | recipe | seasonal | traditional with a twist | treats | vanilla
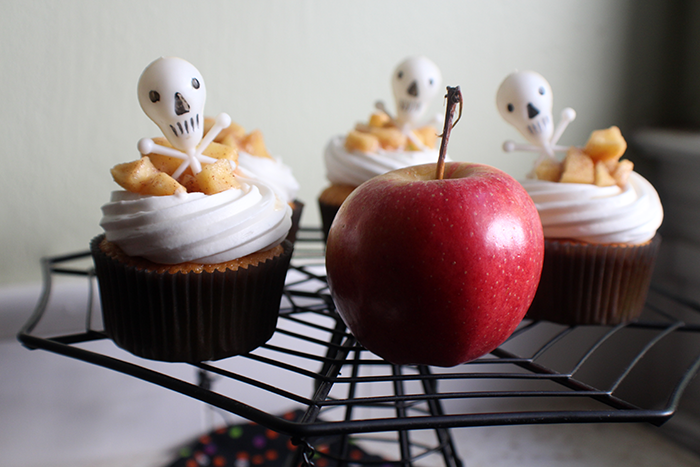
Poison apple cupcakes (apple pie cupcakes).
The “Poisoned” apple is best known from the story Snow White and the Seven Dwarfs. Originally a Brothers Grimm fairy tale (called Schneewittchen) with origins in German storytelling, Snow White has now became synonymous with Disney. In the Disney movie, the poisoned apple makes its appearance when: the Evil Queen declares that Snow White […]
breads | brown sugar | chocolate | cinnamon | cloves | desserts | loaves | pumpkin | quick & easy | recipe
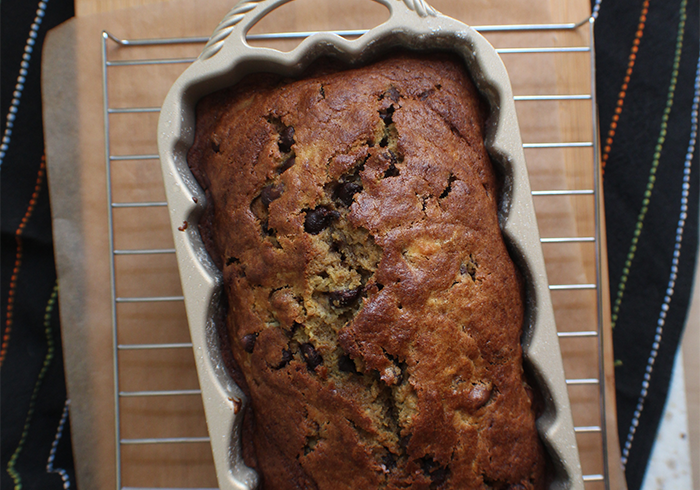
Chocolate chip pumpkin bread.
I love the fall. It’s my favorite season and October is my favorite month. I originally wanted to get married in October, but we had to work around Jay’s vacation days and family availability and it just didn’t happen. And it would’ve been cool if my due date was in October- just because it’s such […]
breakfast | cinnamon | cream cheese | cupcake photos | cupcakes | desserts | frosting | great for kids | maple | pancakes | recipe | traditional with a twist
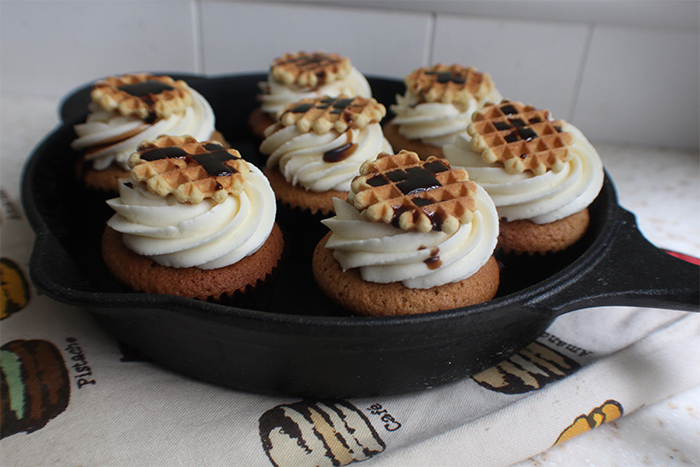
Breakfast cupcakes.
For most people these will probably not actually qualify as “breakfast food.” But as far as I’m concerned, it has eggs, maple, and milk. So it sounds like breakfast to me. And it looks, smells and tastes like breakfast too. I haven’t made cupcakes in forever. Truth be told I had to hunt for […]
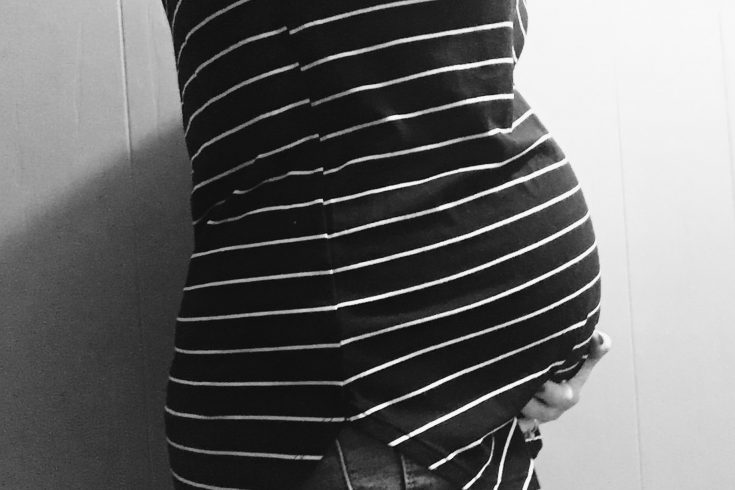
That sounds like another show from those creepy Duggar’s doesn’t it? Haha. So, it’s been a while. Almost two months since I did a bumpdate (get it? Bump update??) and that’s mainly because things have been quiet. Few appointments, mainly just for the glucose challenge (which I passed with flying colors) and bloodwork. Nothing terribly […]
anniversaries | birthdays | blog event | blogging | Cupcake Rehab news! | doughnuts
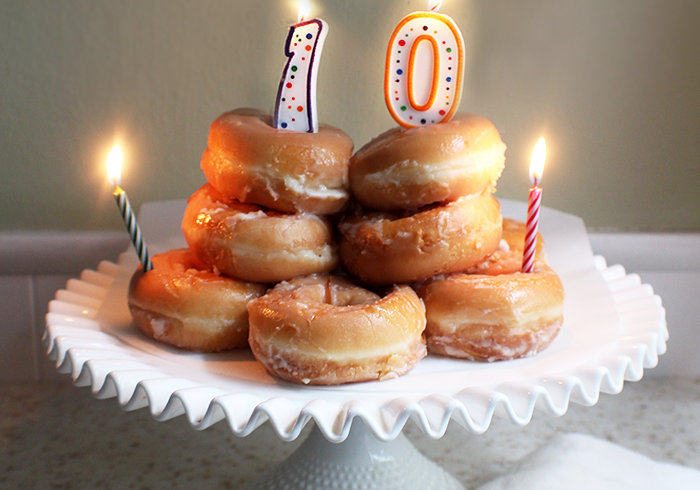
Happy 10th birthday!
I KNOW, I KNOW. It should be cupcakes not donuts. But I’m a lazy preggo. And I had a donut craving, so there. I can’t believe this blog is TEN YEARS OLD. I cannot. Time has flown by. From my very first (embarrassing) post on WordPress.com, to my old photos (with flash- EEK), to my […]
brownies | cast iron cookware | chocolate | desserts | nuts | quick & easy | recipe | treats
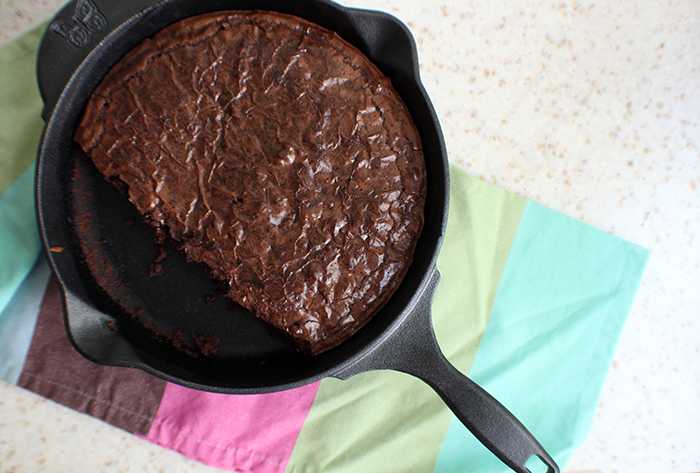
Toasted walnut skillet brownies.
Did you ever wake up and crave something? That’s been happening to me fairly consistently my entire life, to be honest. We all have wacky cravings sometimes right? Which is why I started baking… or partially anyway. Sometimes you just want cupcakes at 2 a.m. Or maybe you want a cake at 9 a.m. It’s […]
advice | babies | miscellany | mom life | newborn life
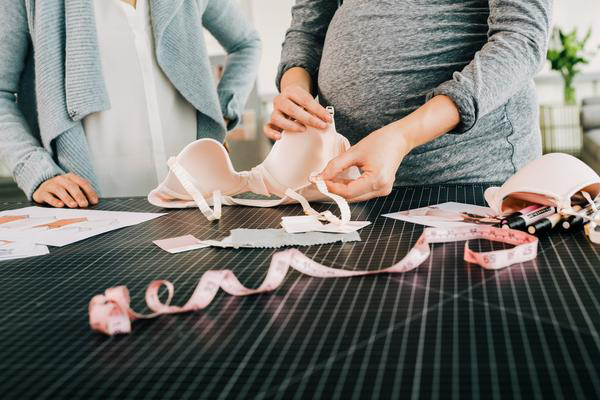
Gettin’ by with a little help from my friends & “support” from ThirdLove.
As a soon-to-be mom, you’re often inundated with advice. Some wanted, a lot unwanted. I was (and am) one of those who doesn’t really want advice- unless I ask for it. I’m blessed to have not only my mother, but my mother-in-law as well as many friends who have children that I can go to […]
biscuits | blueberry | breakfast | chocolate | cranberry | currants | desserts | quick & easy | raisins | recipe | scones | snacks | treats
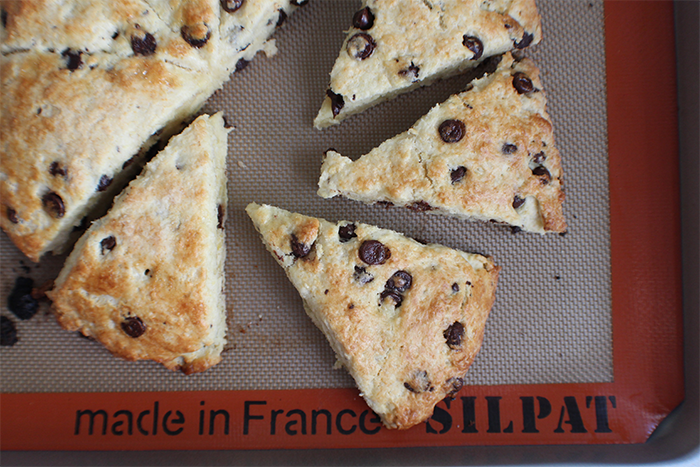
Time for scones.
The first time I made scones, I was shocked at how easy it was. I was a fairly new baker, and the break from creaming butter and sugar and making frosting (cupcakes were unsurprisingly my usual M.O. at the time) was welcomed. They came out good, but not the best ever. I think I used […]
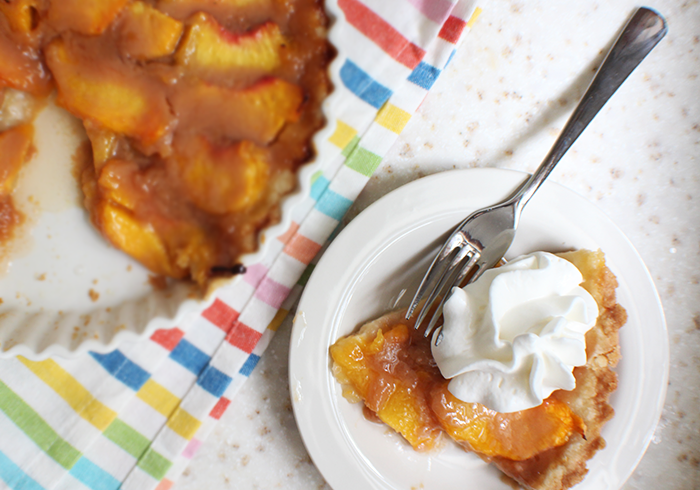
brown sugar | caramel | dough | peaches | quick & easy | recipe | tarts | traditional with a twist
Peach & caramel tart (+ an insanely easy crust recipe).
In my almost 10 years of blogging on this website (!!!), I’ve run across a few snags here and there. Sometimes they’re code-related, HTML-related, or PHP-related. Sometimes it’s hosting issues. Other times it’s photography problems- like when you take photos, then everyone eats, and then you upload the pictures to your laptop the next day […]
 I'm Marilla. A 30-something artist, hobby baker, home canning enthusiast, gardener, DIY-er, wife, mommy of a baby boy and dog mom (to another baby boy) from New York.